GameModHub Gaming
How to Make Your Own Minecraft Skin
The reason most first attempts at a Minecraft skin look homemade is not a lack of drawing ability. It is that people open a blank 64x64 grid and try to work out which rectangle is the back of the left leg.
Nobody does it that way. The reliable approach is to start from a skin that already works, change it in passes, and check it on the model as you go. What follows is that process.
Start from a base, not from nothing
A base skin is a plain, correctly laid out character — usually a simple figure in neutral clothing — meant to be painted over. Every region is already in the right place, so you are recolouring rather than mapping.
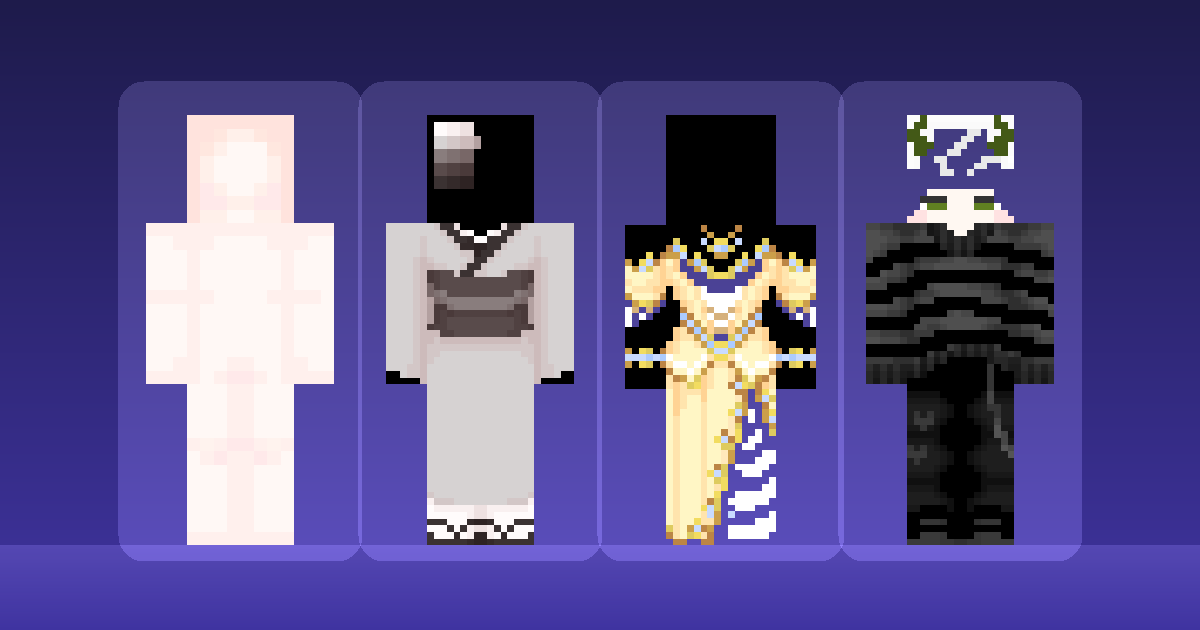
Bases like Kimono Base exist precisely for this. Download one, open it in an editor, and you have a working skin from the first second. If your edit goes wrong, you can always go back to the file you started from.
Choose your base by model first — Classic or Slim — because switching later means repainting every arm. Then choose by silhouette: the clothing shapes in the base are the shapes you will be working with unless you redraw them entirely.
Pick an editor that shows you the model
Two kinds of tool exist, and the difference matters more than the feature list.
A general image editor opens the PNG as a flat 64x64 grid. It gives you precise control and good colour tools, but you are painting an unwrapped map and guessing how it folds up. Zoom in hard and turn off any smoothing or anti-aliasing — a blurred edge becomes a muddy pixel, and Minecraft's textures are unforgiving about it.
A dedicated skin editor shows a rotating 3D preview beside the canvas. For a first skin this is worth far more than precision tools, because it removes the mapping problem entirely: you click a face and see it change on the character.
Whichever you use, work at the real resolution. Painting a 512x512 version and shrinking it at the end produces soft, dithered edges that look wrong next to Minecraft's crisp blocks.
Use the second layer for everything that sticks out
The overlay layer is what separates a skin that looks designed from one that looks painted on.
Hair, hats, glasses, jackets, sleeves and any accessory should live on the second layer rather than the base. It sits marginally outside the model, so the shape reads as a separate object with real depth instead of a pattern printed on the skin.
The key thing is that the overlay supports transparency. Leave a pixel fully clear and the base layer shows through; a common beginner mistake is filling the whole overlay with colour, which encases the character in a solid box. Paint only the pixels the accessory occupies.
Look at how Mana Magic or Feminine Knight use the layer, then try the same trick on your base.
Check the back, the sides and the top
The front of a skin gets all the attention and is the view you will spend the least time looking at. Other players mostly see your back.
Before you call a skin finished, rotate it. Common failures: hair that stops abruptly at the back of the head, a jacket with a detailed front and a blank back, trouser colours that do not line up across the side seams, and a flat untextured patch on top of the head.
Check the seams specifically. Where two faces meet, the pixel colours on each side need to agree, or you get a visible line running down the character. This is the single most common reason a skin looks slightly off without the viewer being able to say why.
Export, upload, and look at it in game
Export as a PNG at exactly 64x64, with transparency preserved. Do not save as JPEG under any circumstances — JPEG compression invents colours between pixels and destroys transparency, which on a skin means a halo of wrong-coloured fringing around every accessory.
Then upload it and actually look at it in game, at normal zoom, in daylight and in a dark cave. Skins read very differently at playing distance than at editor zoom; fine detail that looked sharp at 800% often turns to noise, and colours that looked distinct can collapse into one another under low light.
If something looks wrong once it is in game, the common causes are worth reading before you start repainting.