GameModHub Gaming
How to Change Your Minecraft Skin
Your skin is the texture wrapped around your player model. It is not a cosmetic you equip in-game and it is not stored in your world save: it lives on your account, which is why it follows you onto every server you join and why everyone else sees it too.
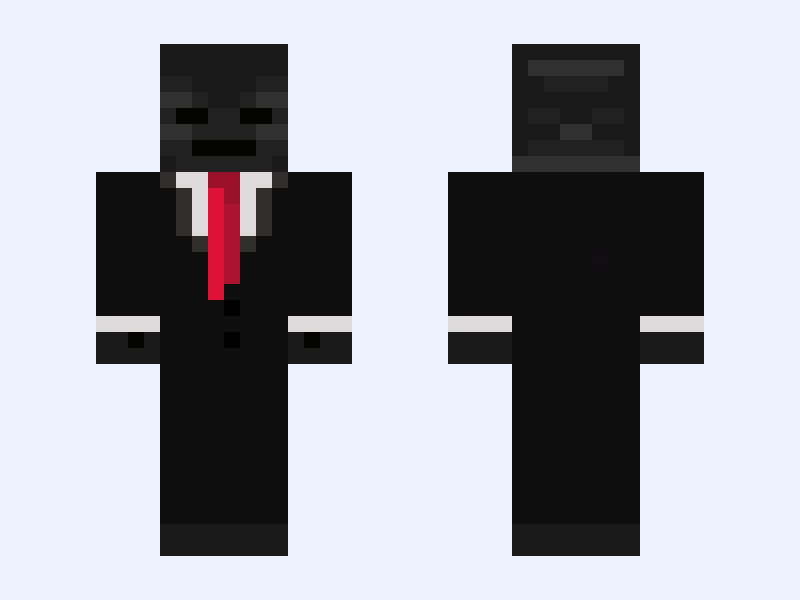
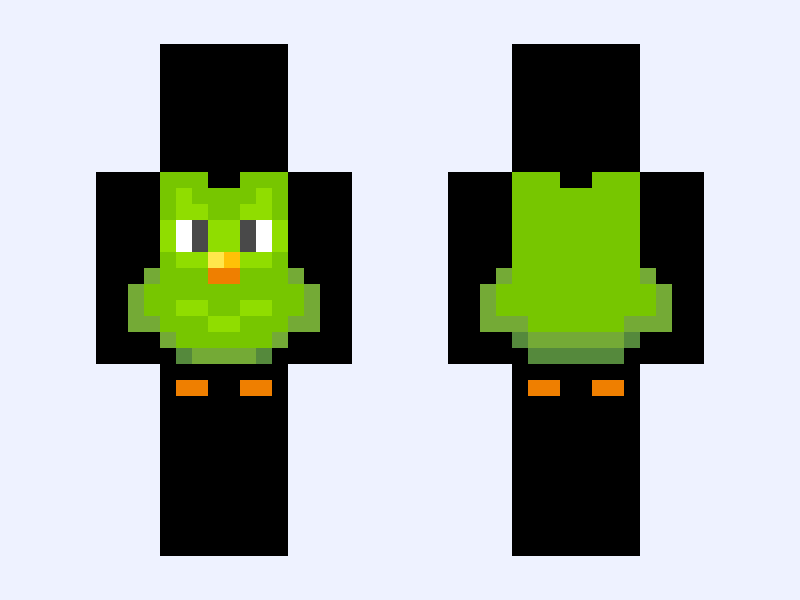
The file itself is small and unglamorous. A Minecraft skin is a single PNG, 64 pixels wide and 64 pixels tall, laid out so that each rectangle of the image maps onto one face of your character's head, body, arms and legs. Every skin on this site is already in that format, so once you have downloaded one, the only remaining question is where your edition hides the upload button.
That question has four different answers, because Java Edition, Bedrock on desktop, mobile and console each handle it differently. Below is each one.
Java Edition: upload through the launcher or your account page
Java Edition keeps skins on your Microsoft account rather than on your computer, so you change them outside the game.
The quickest route is the Minecraft Launcher itself. Open it, choose the Skins tab, and add a new skin. You will be asked to pick the PNG file and to choose a model, Classic or Slim — this matters, and the next section explains why. Give it a name so you can switch back later, then select it and launch the game.
The second route is your account page on minecraft.net, signed in with the same Microsoft account. It does the same job and is useful when the launcher is misbehaving.
Either way the change is made to your account, not your installation. If the game is already running when you upload, close it and open it again; a skin swapped mid-session will usually not appear until the client reconnects.
Bedrock Edition on Windows, mobile and console
Bedrock handles skins inside the game, through the Dressing Room. Open it from the main menu — it is the character icon beside your profile — and you will land on your current character.
Look for the Classic Skins section rather than the character creator. The character creator builds a figure out of parts Mojang supplies; classic skins are the PNG files you download from sites like this one. Inside Classic Skins, choose Owned, then the empty slot marked for importing, then Choose New Skin. Pick your PNG from the device's file browser and confirm whether the skin uses the slim or the classic model.
On mobile the file has to be somewhere the file picker can reach, which usually means your Downloads folder. On console the flow is identical but the file picker is more restricted, and many players find it easier to import the skin once on a phone or PC signed in to the same Microsoft account, since owned classic skins sync across devices.
Why your new skin sometimes does not show up straight away
A skin change is rarely instant, and almost every report of "it did not work" is really a caching delay.
Three separate caches sit between your upload and what another player sees. Mojang's skin service needs a moment to process the new file. Your own client caches the skin it last loaded. And multiplayer servers cache the skins of everyone connected, sometimes for a good while.
So the sequence that actually works is: upload, fully close the game, reopen it, and check yourself in third person or in your inventory screen before worrying about what anyone else sees. If your own client shows the new skin but a friend on a server still sees the old one, the problem is that server's cache, not your upload — rejoining usually clears it.
If nothing has changed after all that, the file itself is more likely at fault than the platform. The troubleshooting guide covers the specific failures.
Where to get a skin worth uploading
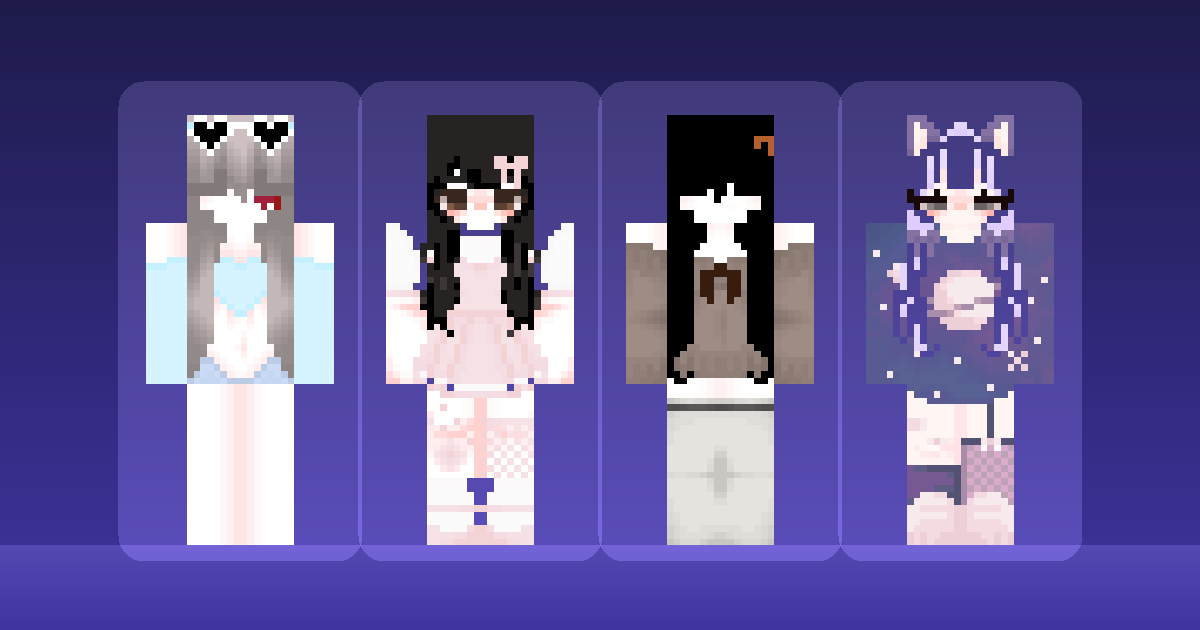
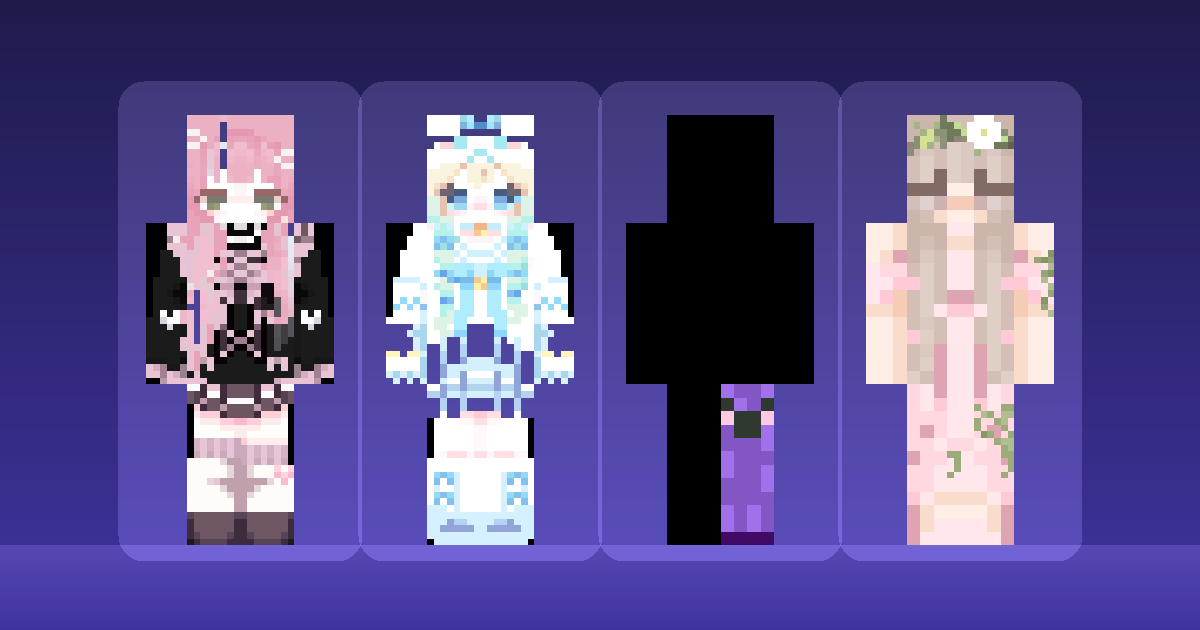
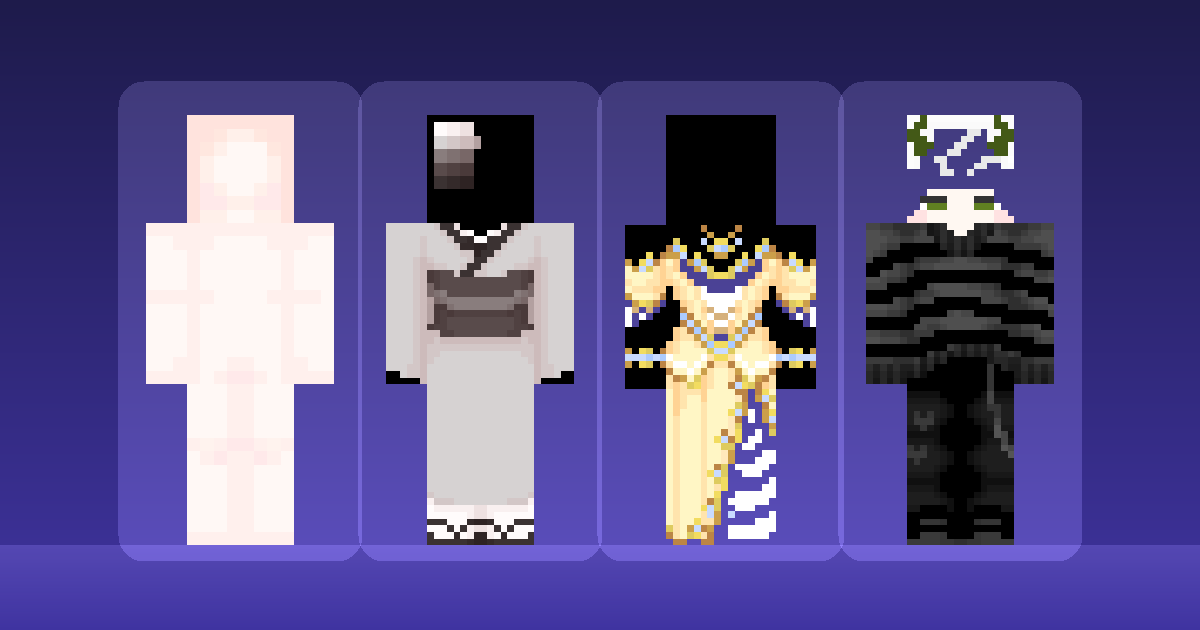
Every skin in our free Minecraft skins library downloads as a correctly sized PNG, and each one's page states whether it was built for the Classic or the Slim model, so you know which option to pick at the moment of upload.
There is no account to create and nothing to install. Open a skin you like, download the PNG, and follow whichever route above matches your edition.
If you would rather build something of your own than pick from a list, making your own skin is more approachable than most people expect — starting from an existing skin as a base is both the easiest and the most common way in.