GameModHub Gaming
How to Preview a Minecraft Skin
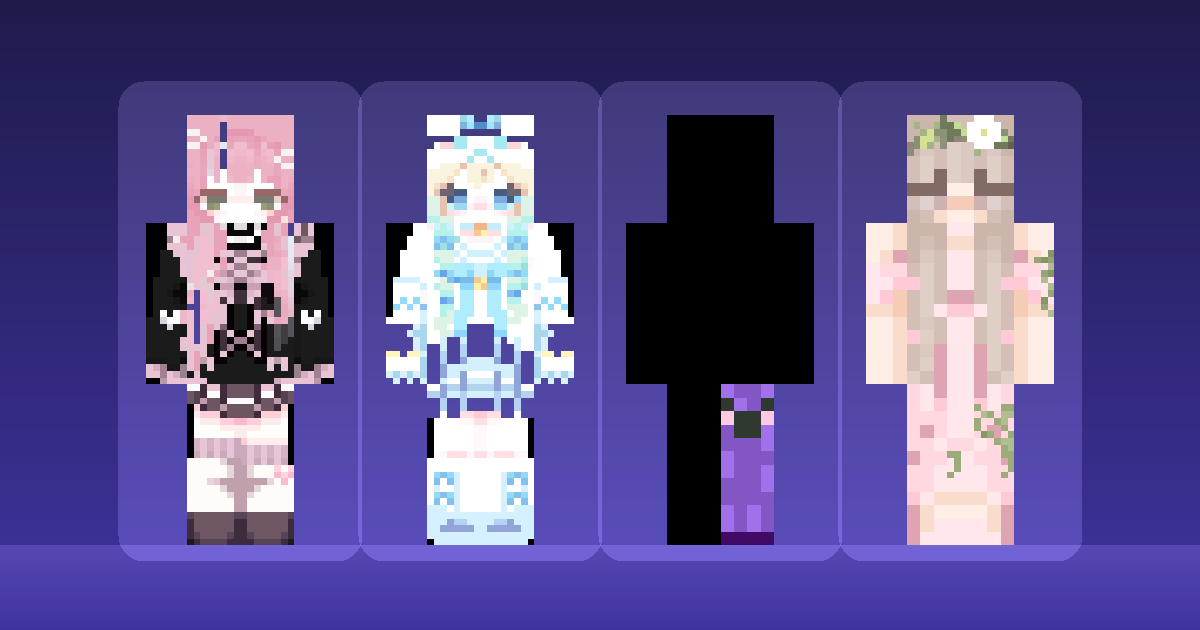
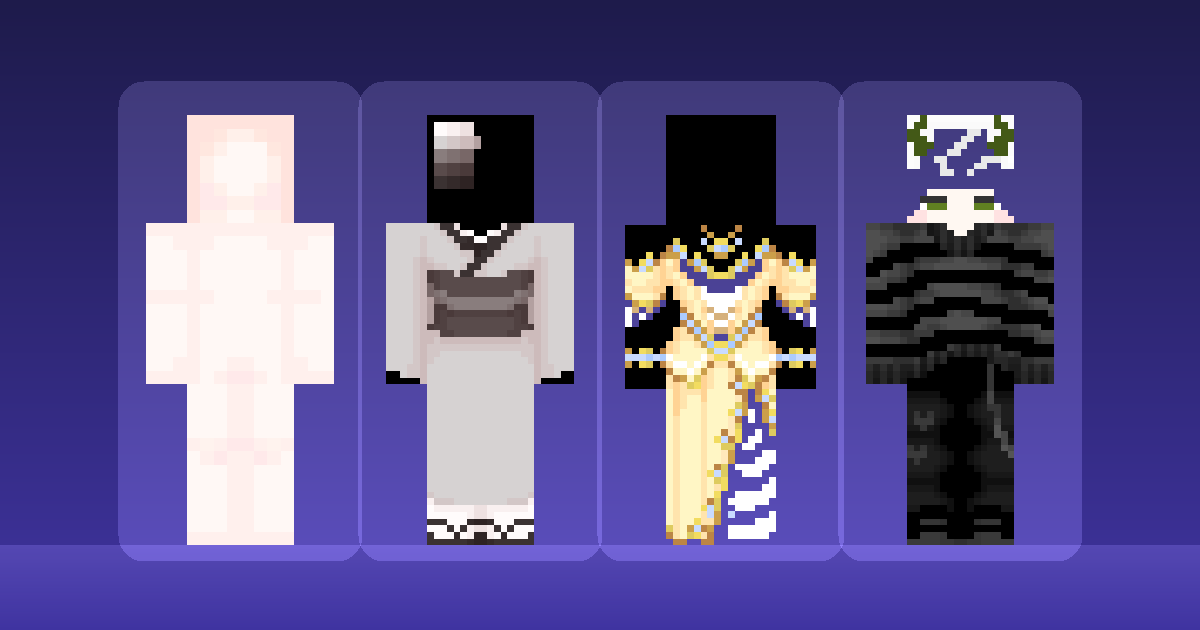
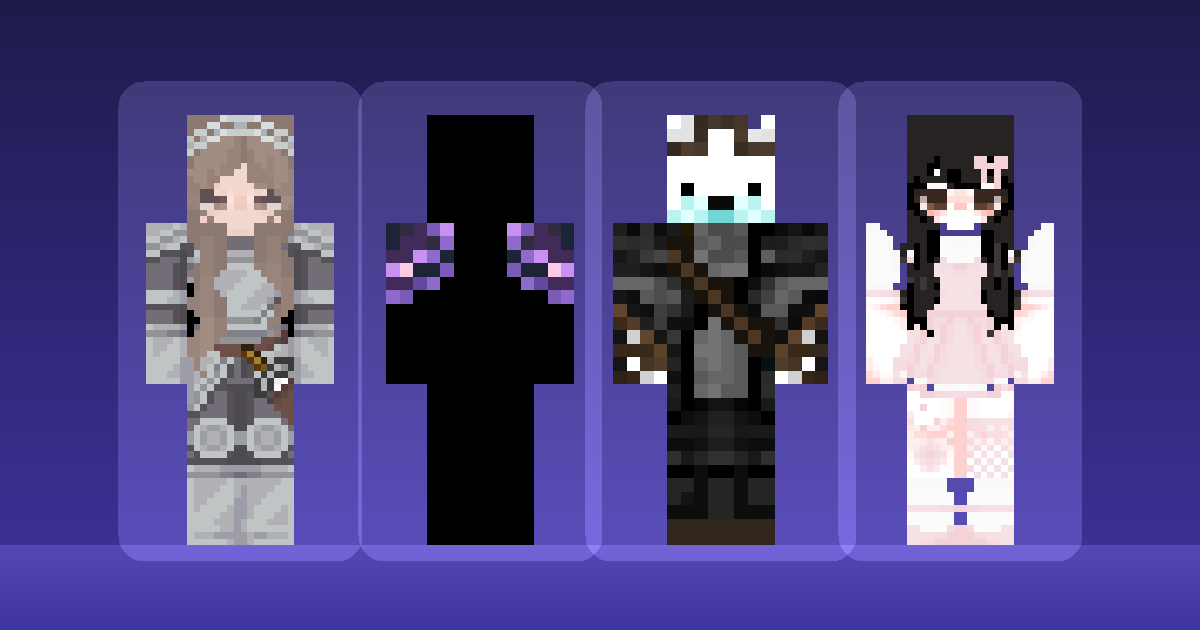
A skin preview on a download page is a best-case render: large, well lit, usually facing you, often at an angle chosen to flatter. What you get in game is a small figure, mostly seen from behind, frequently in bad light.
The gap between those two views is where disappointment lives. Almost every "this looked better on the site" reaction traces to something that was perfectly visible in the file and simply never checked.
Four checks close that gap, and together they take about a minute.
Look at the back
This is the one people skip and the one that matters most, because the back of your character is the view you will spend the entire game looking at.
Common failures are easy to spot once you look: hair that is fully designed at the front and stops abruptly at the back of the head, a jacket with detail on the chest and a blank rectangle behind, a cape-like shape that only exists from one angle, and trouser colours that do not continue around.
Any preview that lets you rotate the model will show this in seconds. If you are looking at a static image, the skin's own page on this site renders the front and the back together for exactly this reason.
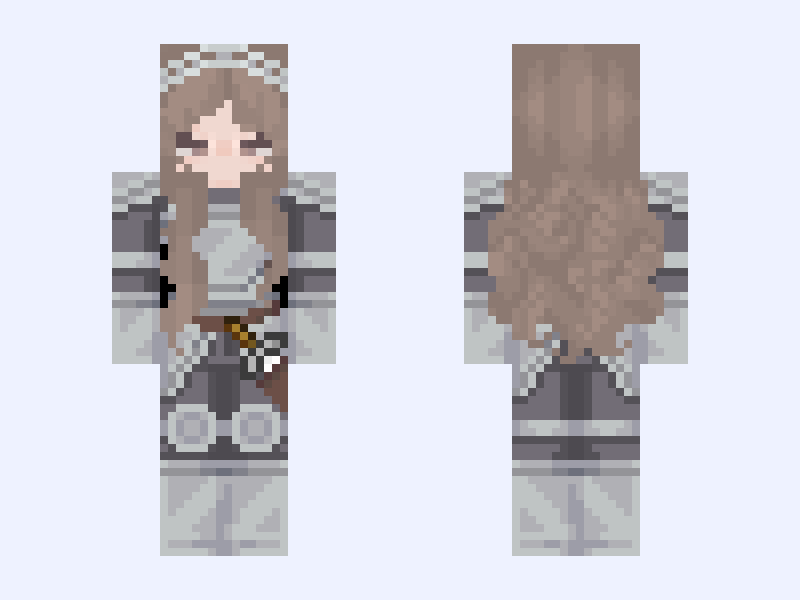
Check the seams on the sides
Each face of each body part is a separate rectangle in the texture file, and those rectangles are not adjacent in the image the way they are on the model. It is very easy for a designer to paint the front of a leg and leave the side not quite matching.
The symptom is a thin line running down the character's side, or a colour that changes abruptly at an edge. It is subtle enough that you may not notice it consciously, and persistent enough to make a skin feel slightly wrong.
Rotate the model slowly through a full turn and watch the edges rather than the design. Seams show up immediately when you are looking for them.
Shrink it down
Preview renders are large. Your character in game is small.
Scale the preview down, or simply step back from the screen, and ask whether the design still reads. Fine facial detail is the first thing to go, followed by any pattern with closely spaced colours, followed by anything relying on low-contrast tones.
What survives is silhouette and strong colour blocking. If a skin loses all its identity when small, it is a skin that looks good in previews and unremarkable in play.
Check it dark as well. A lot of Minecraft happens underground, and a design with little internal contrast becomes a featureless shape in cave light.
Confirm the model before uploading
The last check is the cheapest and prevents the most common failure of all: confirm whether the skin was built for the Classic or the Slim model, and select that same option when you upload.
Get it wrong and you get either a stripe of unpainted arm or a squashed sleeve — not subtle, and entirely avoidable. Every skin page in our library states the model it was built for.
Check the resolution at the same time. A skin marked HD is 128x128 or larger and vanilla Minecraft will refuse it, as the format guide explains.
If something still looks wrong after uploading, the troubleshooting guide matches symptoms to causes.