GameModHub Gaming
Minecraft Skin Layers Explained
Every modern Minecraft skin has two layers. The base layer is the character's actual surface: body, head, arms, legs. The overlay — also called the second layer, the outer layer, or the hat and jacket layer — sits fractionally outside it, like a slightly larger shell wrapped around the same shape.
That small offset is the whole point. Anything painted on the overlay stands proud of the model instead of lying flat on it, so it reads as a separate object rather than a pattern.
It is the single biggest visual difference between a skin that looks designed and one that looks printed, and it is also where most beginner skins go wrong.
Every body part has one
In the 64x64 format, all six body parts have an overlay region: head, torso, both arms and both legs. They are sometimes still called by their old names — hat for the head, jacket for the torso, sleeves for the arms, trousers for the legs — but they are all the same mechanism.
This was not always true. The legacy 64x32 format had only a hat layer, which is one of several reasons that format is worth avoiding. The format guide covers the differences.
So if you are working in an editor and only the head seems to have a second layer available, you are probably editing a 64x32 file.
What belongs on the overlay
The rule of thumb: anything that would be a separate physical object in real life.
Hair is the most important. Hair on the base layer is a pattern on a scalp; hair on the overlay has thickness and can have a shape that differs from the head's outline.
Glasses, masks and face markings that should sit in front of the face rather than be part of it.
Animal ears, horns, antennae — anything that changes the head's silhouette. This is the highest-value use of the layer at this resolution, because silhouette is what reads at distance.
Jackets, hoodies, armour plates, scarves — outer clothing that sits over the body rather than being the body.
What does not belong there: the character's skin, their base clothing, or anything that is simply the surface of the model.
Mistake one: filling the whole overlay
The overlay supports transparency, and that is the entire reason it works. Wherever you leave a pixel fully clear, the base layer shows through.
The classic beginner error is to fill the whole overlay with colour — often by accident, by starting from a filled layer rather than an empty one. The result is that the character is encased in a solid box slightly larger than their body. Limbs lose definition, the face disappears, and the skin looks like a blocky sack.
Paint only the pixels the object occupies and erase everything else. If a skin looks inexplicably bloated, this is almost always why.
Mistake two: transparency on the base layer
The mirror image of the first mistake, and just as common.
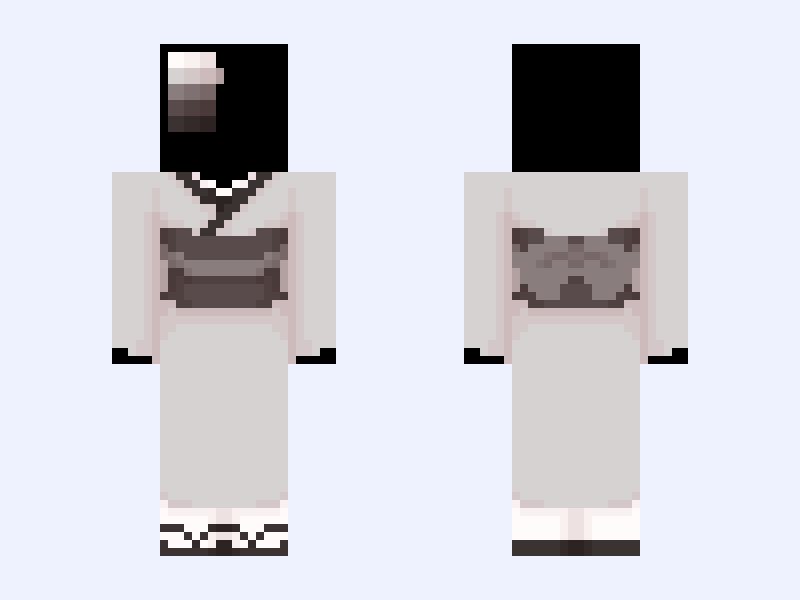
Transparency only works on the overlay. On the base layer it does not: erase pixels on the base body and Minecraft renders them as solid, usually black. The base is the model's actual surface and is opaque by design.
So a design that needs a see-through region — hair with gaps, glasses with clear lenses, a jacket that stops partway down the arm — has to have that element on the overlay. Putting it on the base and cutting holes produces black patches, not transparency.
There is a third version of this worth mentioning: a file that has been saved as JPEG at some point has no transparency at all, because the format does not support it. Every previously clear pixel becomes opaque, usually with coloured fringing. Always keep skins as PNG.
The troubleshooting guide covers how each of these looks in game, and the skin-making guide covers building a skin that uses the layer properly from the start.